Yoga is a wonderful way to build flexibility, strength, and mindfulness, yet starting can sometimes feel overwhelming. The good news is that you don’t need advanced skills or special equipment to begin practicing at home. By focusing on the right poses, you can ease into yoga comfortably while enjoying its full range of benefits. Below are seven beginner-friendly yoga poses you can practice at home to create a strong foundation, gently improve mobility, and bring a sense of calm and focus to your daily routine.
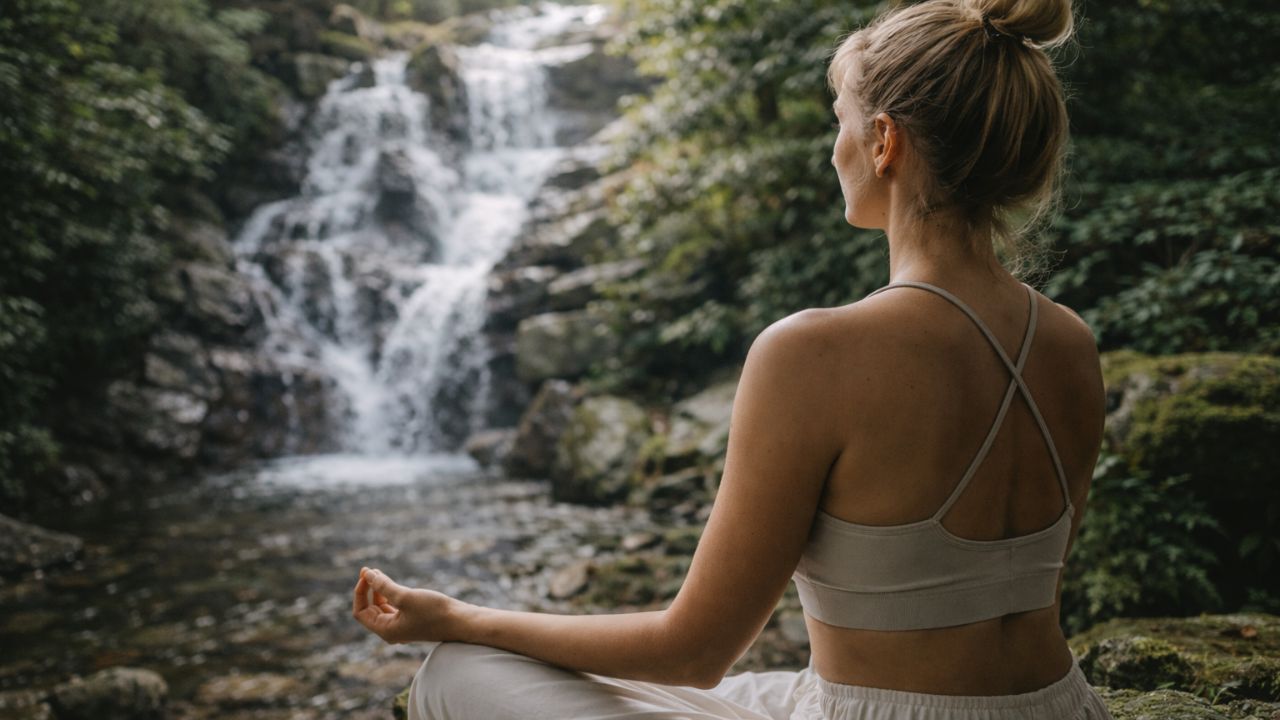
1. Mountain Pose (Tadasana)
Why This Pose Works Well for Beginners
Mountain Pose is a fundamental standing posture that teaches proper body alignment and breath awareness. It encourages mindfulness and prepares your body for more challenging poses.
How to Practice
Stand upright with your feet together, legs firm, and toes gently spread.
Engage your thighs, lift your chest, and soften your shoulders.
Rest your arms by your sides with palms facing forward.
Ground through your feet, stand tall, and breathe deeply.
Key Benefits
Supports better posture.
Builds strength in the legs and core.
Enhances balance and alignment.
2. Downward-Facing Dog (Adho Mukha Svanasana)
Why This Pose Works Well for Beginners
This classic pose offers a full-body stretch while also building upper-body strength. It is a core part of many yoga practices and helps develop flexibility.
How to Practice
Begin on all fours, placing wrists under shoulders and knees under hips.
Tuck your toes and lift your hips upward, straightening your legs as comfortably as possible.
Press your hands firmly into the mat with arms extended.
Breathe steadily as you lengthen your spine and gently reach your heels down.
Key Benefits
Stretches the hamstrings, calves, and back.
Strengthens the arms, shoulders, and core.
Improves posture and alignment.
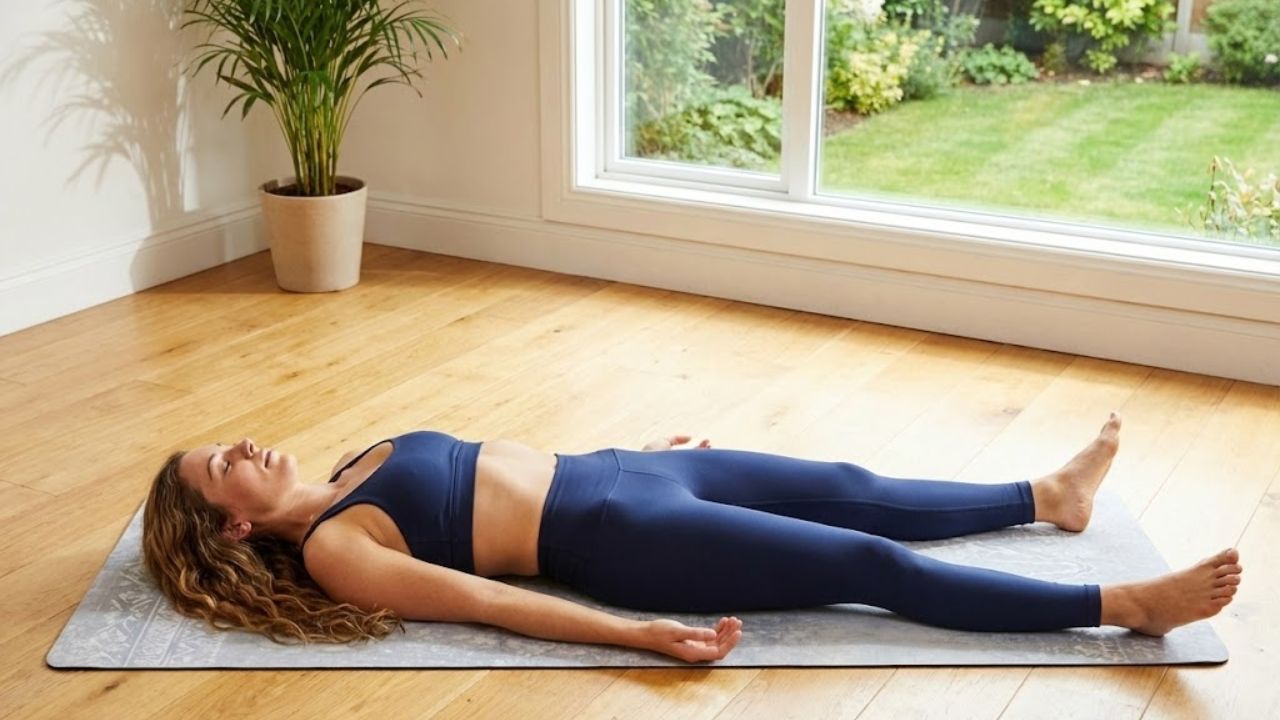
3. Child’s Pose (Balasana)
Why This Pose Works Well for Beginners
Child’s Pose is a deeply restorative posture that allows the body to relax and release built-up tension. It is ideal for resting during your practice.
How to Practice
Kneel on the mat with big toes touching and knees comfortably apart.
Sit back onto your heels and stretch your arms forward.
Lower your forehead toward the floor and relax your body.
Hold for several slow breaths, letting your back soften.
Key Benefits
Eases tension in the back, neck, and shoulders.
Encourages mental calm and relaxation.
Gently stretches the spine, hips, and thighs.
4. Cat–Cow Pose (Marjaryasana–Bitilasana)
Why This Pose Works Well for Beginners
This flowing movement between two poses improves spinal flexibility and helps release stiffness in the back and neck.
How to Practice
Come onto all fours with wrists under shoulders and knees under hips.
Inhale, drop your belly, and lift your head and tailbone.
Exhale, round your spine, tuck your chin, and draw the belly inward.
Continue moving gently with your breath.
Key Benefits
Increases spinal mobility.
Reduces back and neck tension.
Improves coordination and posture.
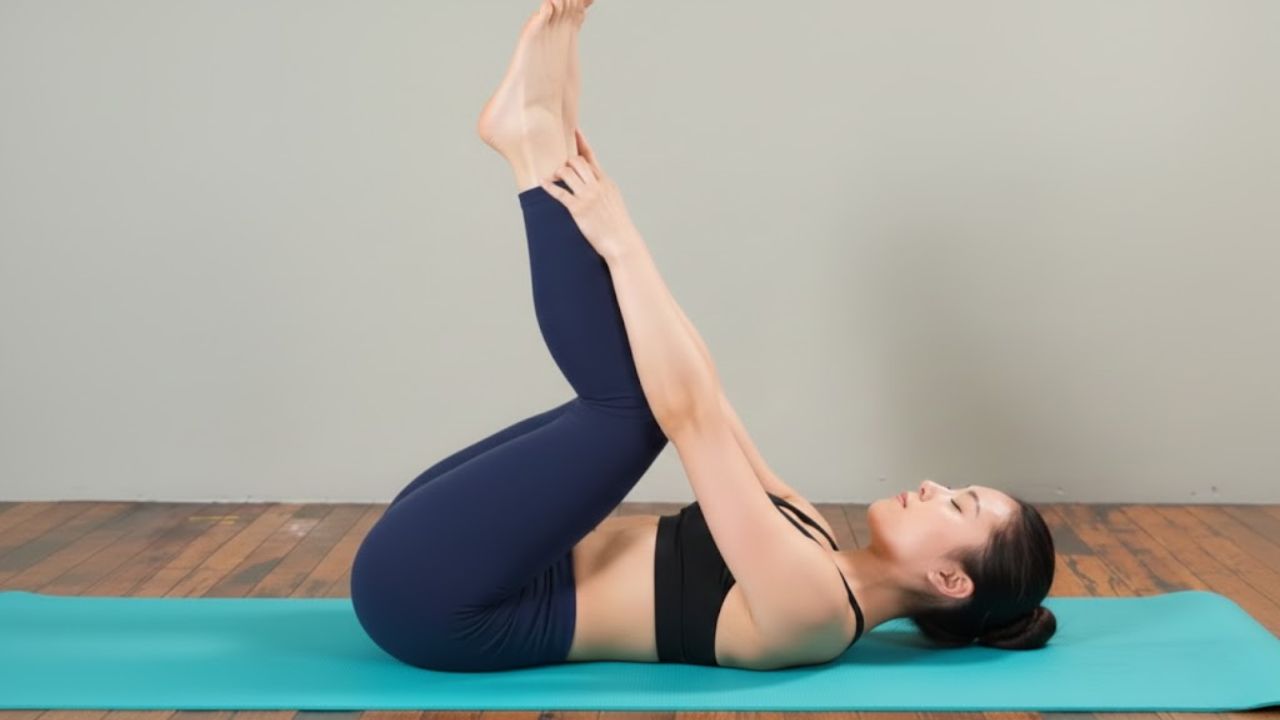
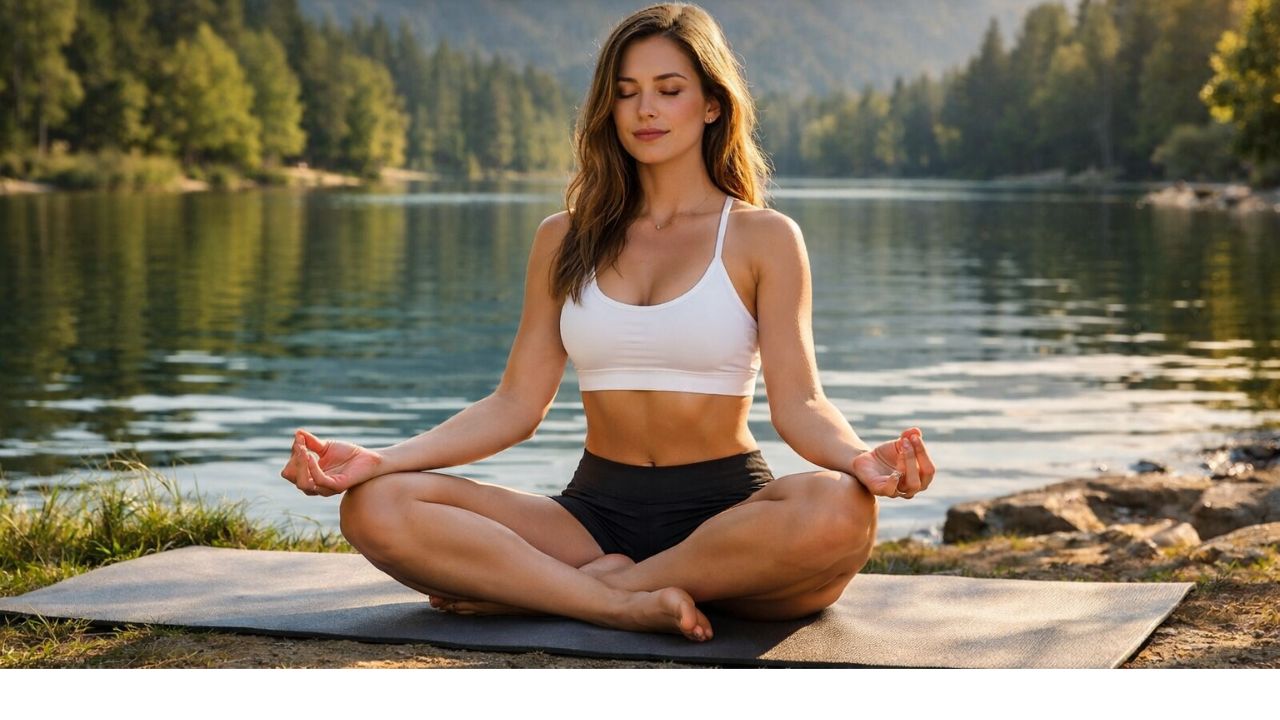
5. Seated Forward Fold (Paschimottanasana)
Why This Pose Works Well for Beginners
This calming pose provides a deep stretch for the back and legs while encouraging mindful breathing and relaxation.
How to Practice
Sit on the floor with legs extended straight ahead.
Inhale and lengthen your spine, sitting tall.
Exhale and hinge forward from the hips, reaching toward your feet or shins.
Relax your neck while keeping your spine long.
Key Benefits
Stretches the hamstrings, calves, and back.
Helps reduce stress and calm the mind.
Improves flexibility in the spine and legs.
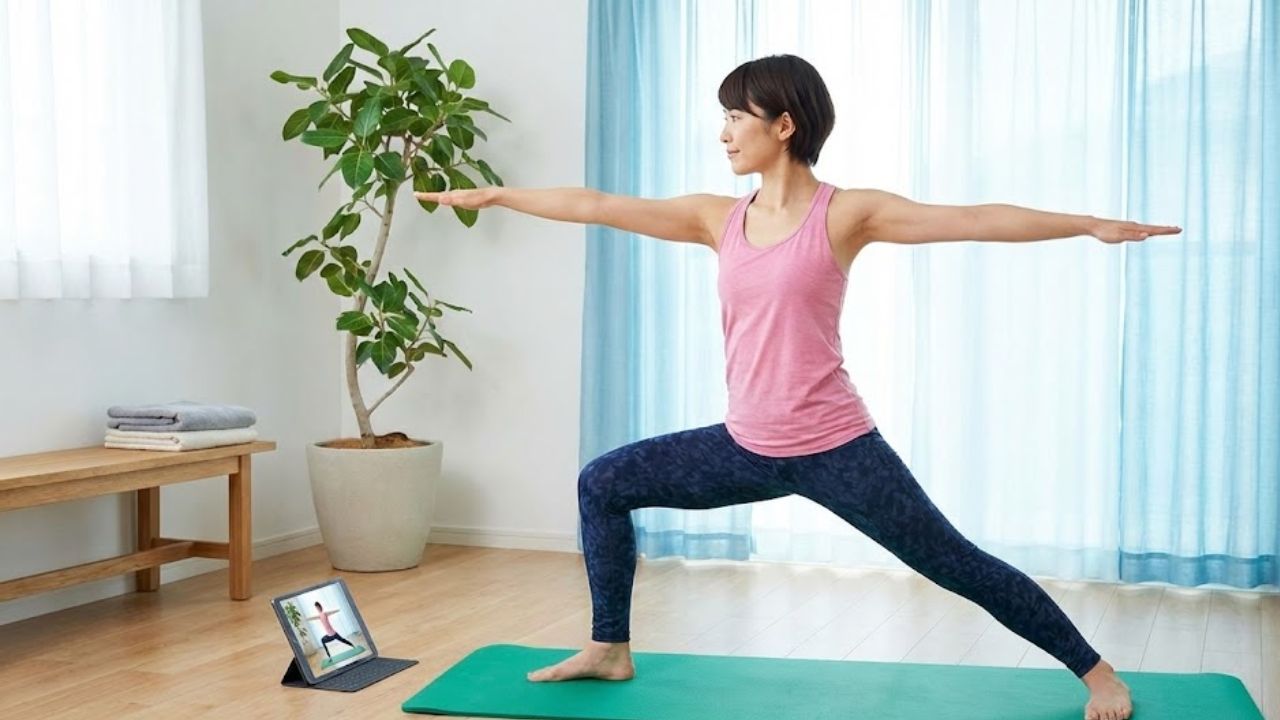
6. Warrior I (Virabhadrasana I)
Why This Pose Works Well for Beginners
Warrior I builds strength and stability while opening the chest and hips. It is a key pose in many yoga sequences.
How to Practice
Stand with feet about three to four feet apart.
Turn one foot outward and bend the front knee over the ankle.
Lift your arms overhead while keeping shoulders relaxed.
Hold for several breaths before switching sides.
Key Benefits
Strengthens the legs, arms, and core.
Opens the hips and chest.
Enhances focus and balance.
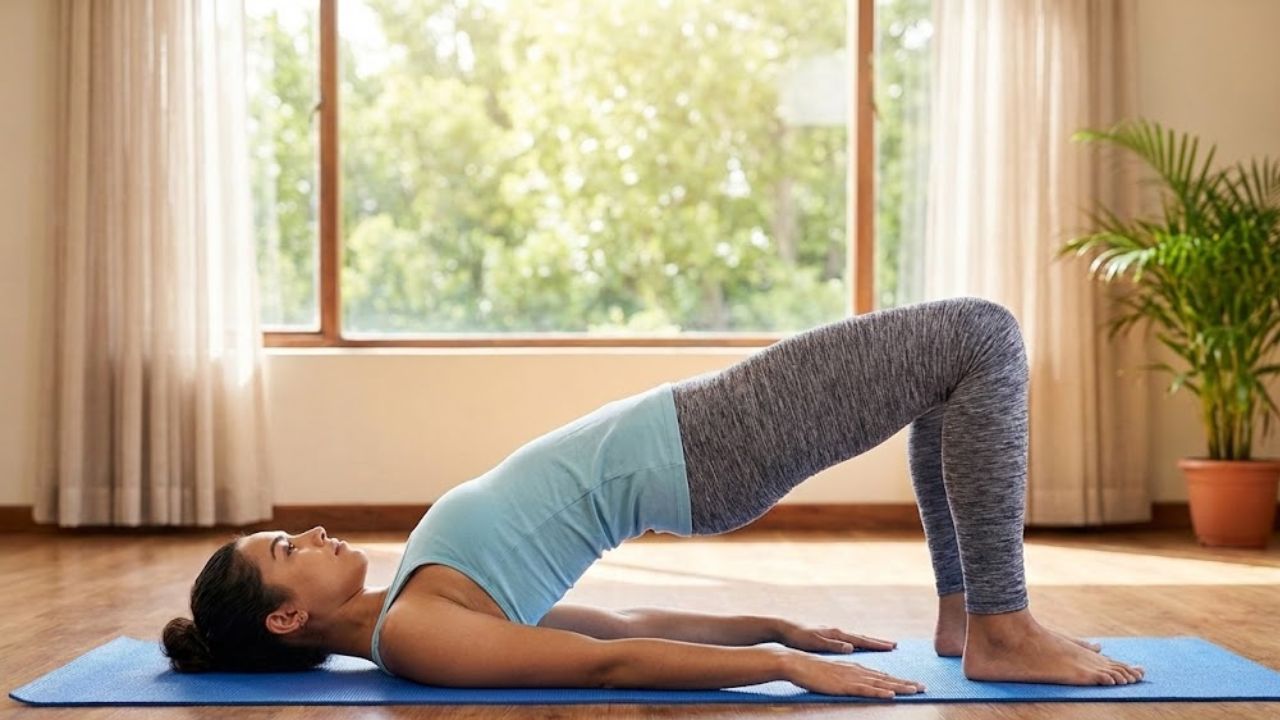
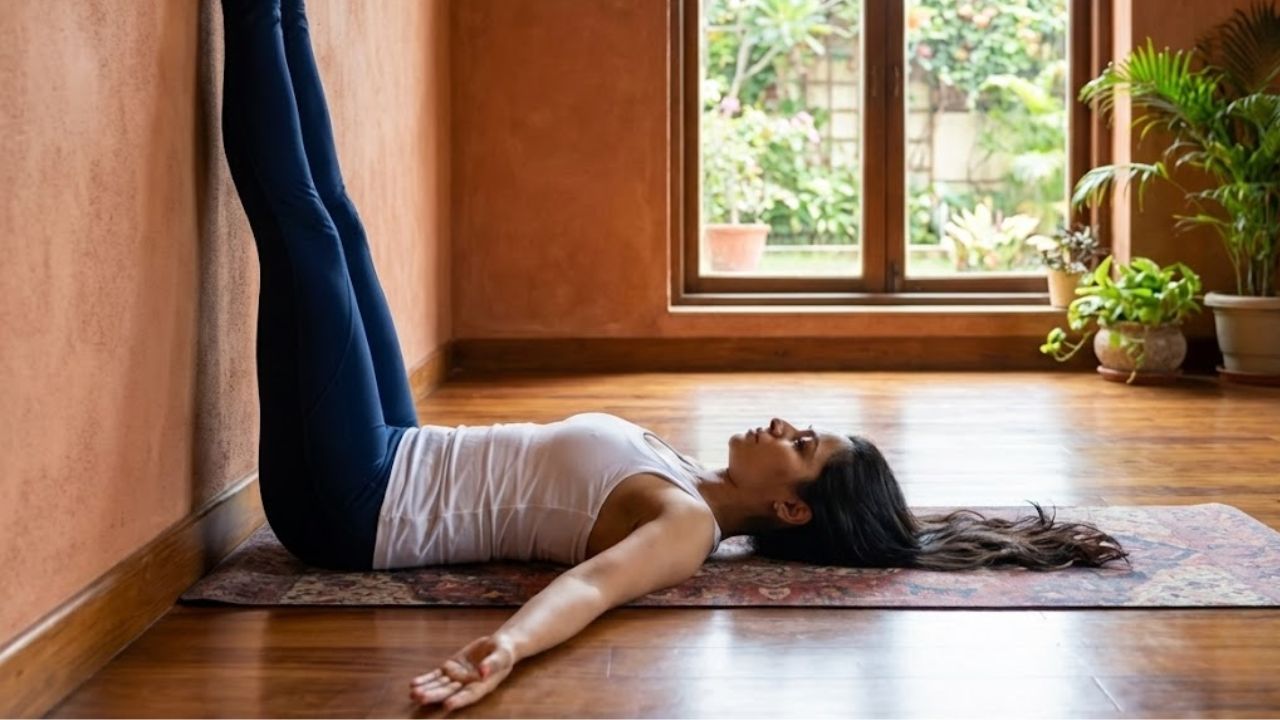
7. Bridge Pose (Setu Bandhasana)
Why This Pose Works Well for Beginners
Bridge Pose is a gentle backbend that strengthens the lower body while improving posture and flexibility.
How to Practice
Lie on your back with knees bent and feet hip-width apart.
Press your feet into the floor and lift your hips upward.
Engage your glutes and core as your chest rises slightly.
Hold briefly, then lower down with control.
Key Benefits
Strengthens the glutes, legs, and back.
Opens the chest and shoulders.
Releases tension in the back and hips.