Adding yoga to your everyday life helps you stay physically healthy while improving flexibility & lowering stress levels. You do not need to master difficult poses to gain these advantages. Simple and gentle yoga works just as well for supporting your overall health. The six poses described here are straightforward to practice and suitable for anyone regardless of experience level. They fit easily into your daily wellness habits. These poses will help you feel more balanced & relaxed whether you want to release tension or increase energy or quiet your thoughts.
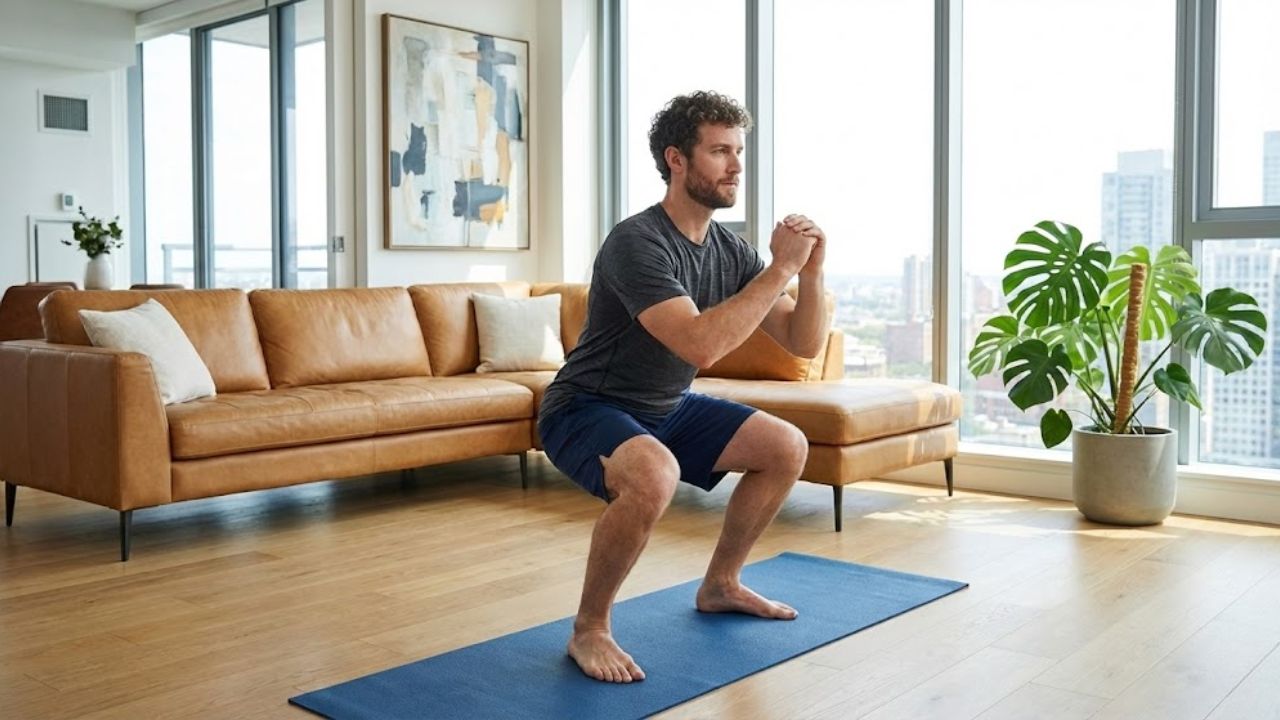
Mountain Pose (Tadasana)
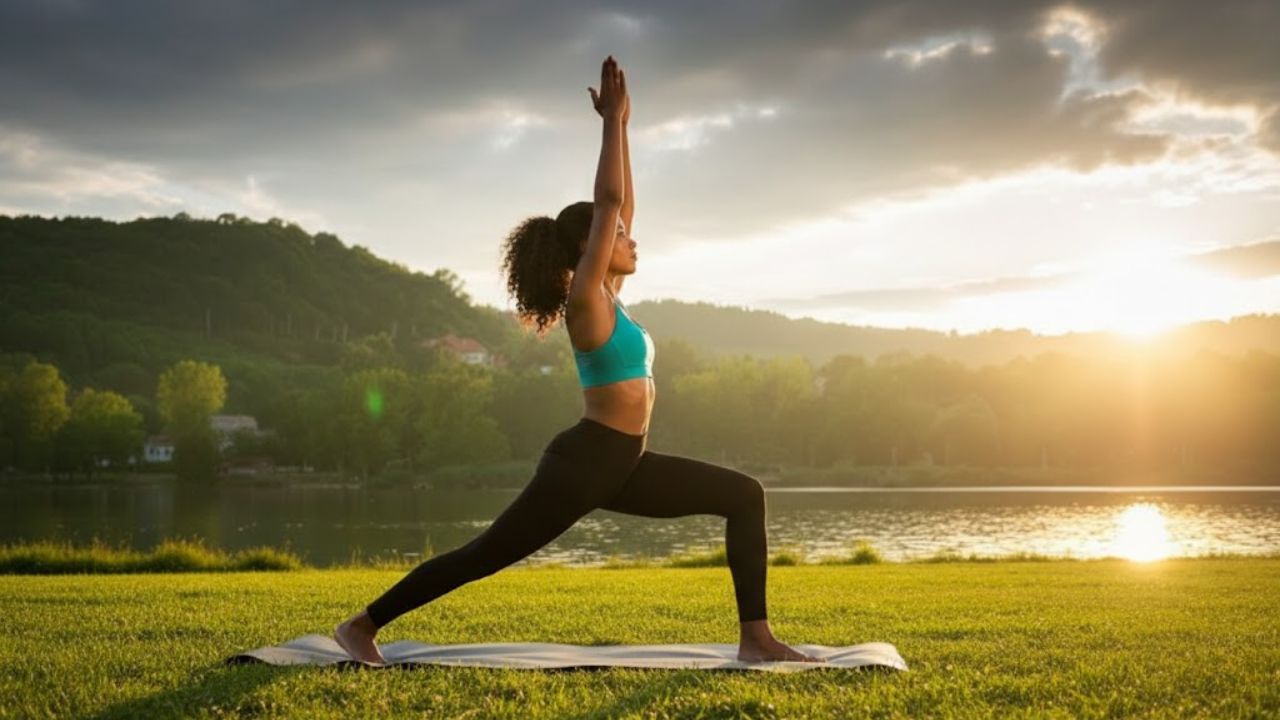
Mountain Pose is a foundational yoga posture that may appear simple but plays a powerful role in building stability and awareness. It helps improve posture, enhance balance, and create a strong base for all standing poses. This posture encourages a sense of grounding and helps you become more aware of how your body aligns from head to toe.
How to Practice:
Stand upright with your feet hip-width apart and arms resting naturally by your sides. Distribute your weight evenly across both feet. Gently lift your chest, roll your shoulders back, and engage your core muscles. Raise your arms overhead with palms facing inward or slightly outward. Maintain steady, deep breathing and hold the pose for 30 seconds to one minute.
Benefits:
Mountain Pose strengthens the legs, supports proper posture, and promotes calm, controlled breathing, helping you feel centered and focused.
Cat-Cow Pose (Marjaryasana–Bitilasana)
Cat-Cow is a gentle flowing sequence that alternates between spinal flexion and extension. It is especially effective for loosening the spine, releasing built-up tension, and preparing the body for deeper movements. This pose is ideal for warming up the back and easing stiffness in the neck and lower spine.
How to Practice:
Begin on all fours in a tabletop position, aligning your wrists under your shoulders and knees beneath your hips. Inhale as you drop your belly, lift your chest, and tilt your tailbone upward (Cow Pose). Exhale as you round your spine, tuck your chin, and draw your belly in (Cat Pose). Continue moving smoothly between these poses while coordinating with your breath.
Benefits:
Cat-Cow improves spinal flexibility, stretches the neck and back, and encourages mindful breathing, making it excellent for stress relief.
Child’s Pose (Balasana)
Child’s Pose is a deeply restorative posture that allows the body and mind to fully relax. It gently stretches the hips, thighs, and spine while providing a sense of comfort and security. This pose is often used as a resting position during yoga practice.
How to Practice:
Kneel on the floor with your big toes touching and knees spread apart. Sit back onto your heels and slowly fold forward, lowering your forehead to the mat. Extend your arms forward or let them rest alongside your body. Breathe deeply and allow your muscles to soften.
Benefits:
Child’s Pose reduces tension in the back and neck, calms the nervous system, and promotes deep relaxation.
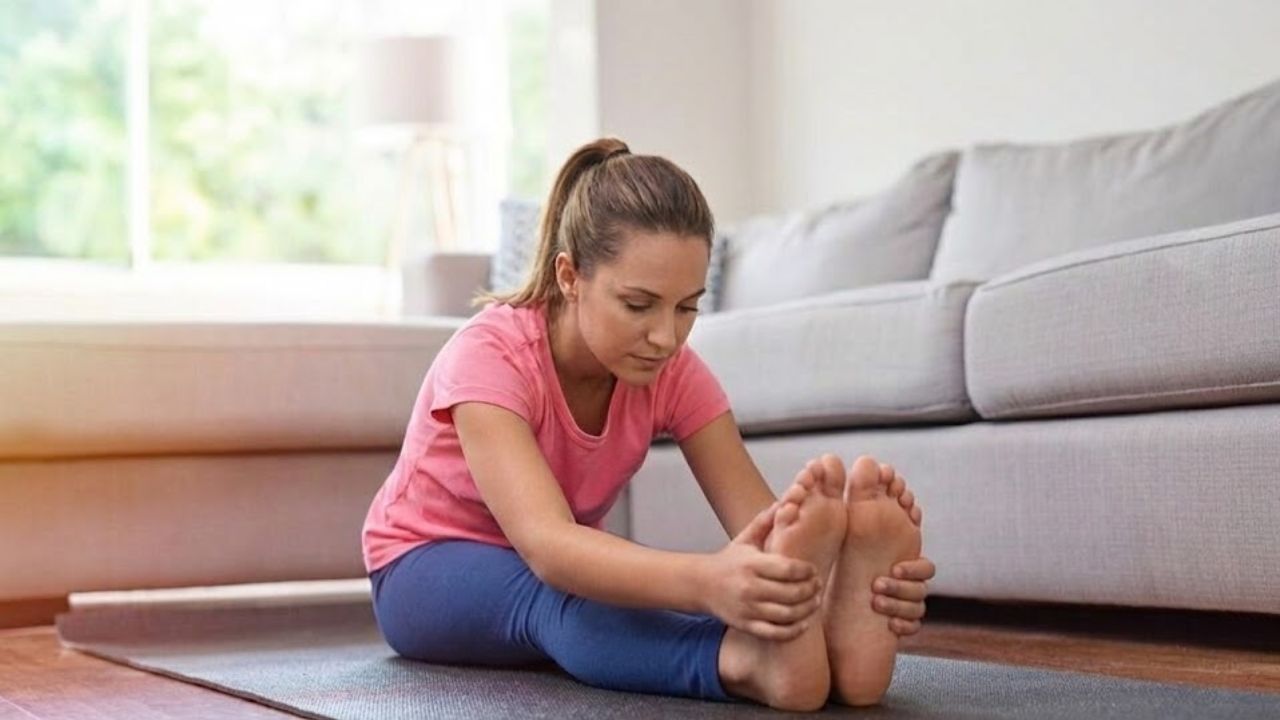
Seated Forward Fold (Paschimottanasana)
Seated Forward Fold is a soothing stretch that targets the hamstrings, spine, and lower back. It helps release physical tension while encouraging mental calmness, making it a valuable pose for both flexibility and relaxation.
How to Practice:
Sit on the floor with your legs extended straight ahead and feet flexed. Inhale to lengthen your spine, then exhale as you hinge forward from the hips. Reach toward your feet, ankles, or shins while keeping your back as straight as possible. Hold the pose for 30 seconds to one minute while breathing steadily.
Benefits:
This pose improves flexibility in the hamstrings and spine, relieves lower back tension, and promotes a calm, relaxed state of mind.
Legs Up the Wall (Viparita Karani)
Legs Up the Wall is a restorative inversion that allows the body to unwind and reset. It is particularly beneficial for tired legs and is commonly used to promote relaxation and improve circulation.
How to Practice:
Sit beside a wall and gently lie down on your back while lifting your legs up against the wall. Adjust your position so your body feels comfortable, with arms resting at your sides. Close your eyes and relax into the pose for 5 to 10 minutes, focusing on slow, deep breathing.
Benefits:
This pose helps reduce leg fatigue, supports circulation, eases lower back tension, and calms the nervous system.
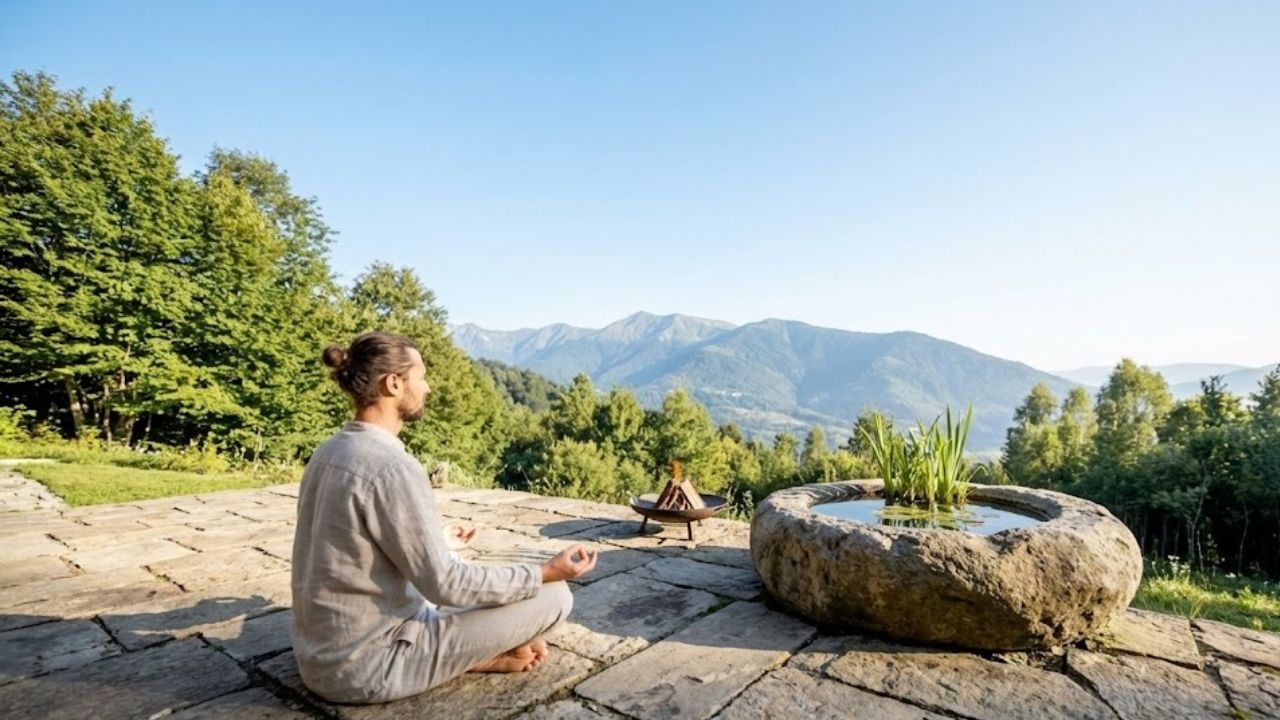
Savasana (Corpse Pose)
Savasana is the final relaxation pose that concludes a yoga session. Though simple in appearance, it is essential for allowing the body to absorb the benefits of the practice and achieve deep rest.
How to Practice:
Lie flat on your back with legs extended and arms relaxed at your sides, palms facing upward. Close your eyes and focus on slow, steady breathing. Consciously relax each part of your body, starting from your toes and moving upward. Remain in this pose for 5 to 10 minutes.
Benefits:
Savasana promotes deep relaxation, reduces stress, lowers blood pressure, and helps calm both the body and mind.
How to Include These Poses in Your Daily Routine
Incorporating yoga into your daily life doesn’t require a long time commitment. Even a short session of 5 to 15 minutes can help you feel more balanced and relaxed. You can practice these six poses together as a complete routine or use them individually as calming breaks throughout the day. Beginners may start with a few minutes daily and gradually extend their practice as comfort and confidence grow.