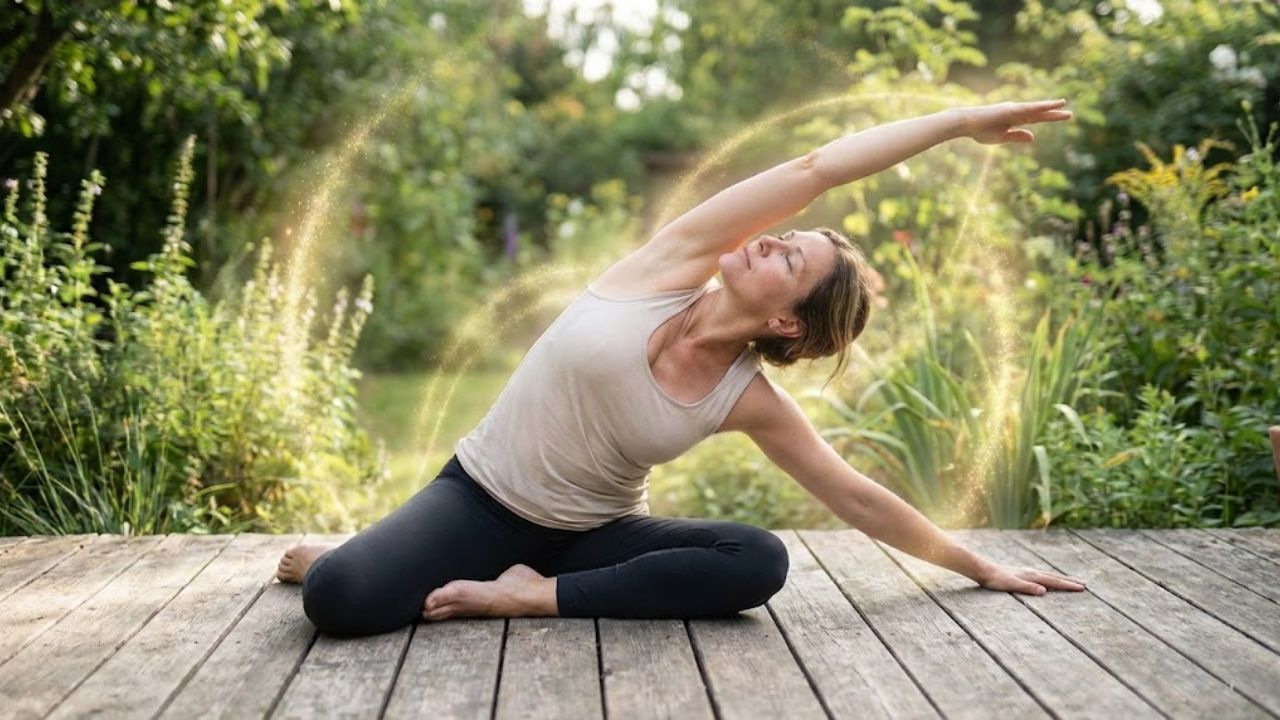
Yoga stands out as one of the best ways to boost your flexibility and expand how freely your body can move. This practice blends stretching with controlled breathing and deliberate movements to help relax stiff muscles and improve how your joints function. Regular yoga sessions gradually make your entire body more flexible and limber. The beauty of yoga lies in its adaptability for everyone. Beginners can start with basic poses & gentle stretches that match their current ability level. More experienced practitioners can challenge themselves with advanced positions that push their flexibility further. Each person can adjust the intensity and difficulty to match their personal goals. Your body responds to consistent yoga practice by becoming more supple over time. Tight areas begin to release their tension as you hold poses & focus on your breathing. Your joints gain a wider range of motion as you move through different positions. This improvement happens gradually but steadily when you maintain a regular practice schedule. Yoga works because it approaches flexibility from multiple angles simultaneously. The physical poses stretch your muscles in various directions. The breathing techniques help your body relax and release tension. The mindful awareness lets you notice where you hold tightness & work on those specific areas. Together these elements create lasting improvements in how your body moves & feels.
Why Flexibility Matters
Flexibility is crucial for maintaining healthy joints and muscles. It helps reduce the risk of injury, improves posture, and increases your ability to perform daily activities with ease. Additionally, flexibility promotes better blood flow and enhances muscle performance, allowing you to move with more grace and control.
Benefits of Increased Range of Motion
A greater range of motion helps relieve tension and stress in the muscles, allowing for a better quality of life. It aids in relaxing tight muscles and promotes relaxation in the body and mind. Yoga improves flexibility by encouraging deep stretching and lengthening of muscles through various poses. Each pose targets specific muscle groups, helping them to become more flexible over time. The constant flow of breath during yoga also helps the body relax, enabling deeper stretches.
More Than Just Flexibility: Strength and Balance
In addition to flexibility, yoga also builds strength and improves balance—vital elements for joint health. Strong muscles and joints help support the increased range of motion, reducing the risk of injury while enhancing stability and control in movement.
Top Yoga Poses for Flexibility and Range of Motion
Downward Dog (Adho Mukha Svanasana)
This pose stretches the hamstrings, calves, and spine. By pressing your heels into the mat and lifting your hips toward the sky, you open up the lower body and create space in the back, boosting flexibility.
Forward Fold (Uttanasana)
This standing forward bend stretches the hamstrings and lower back. Keeping the legs straight and folding forward allows the spine to lengthen and relieves tension in the back and neck.
Lunge (Anjaneyasana)
Lunges stretch the hip flexors, quads, and calves. By sinking deeply into the pose, you increase flexibility in the lower body and improve the hips’ range of motion.
Pigeon Pose (Eka Pada Rajakapotasana)
This deep hip opener targets the glutes, thighs, and hips. It’s ideal for enhancing flexibility in the hip region, which is essential for walking, running, and cycling.
Bridge Pose (Setu Bandhasana)
This pose strengthens the lower back while stretching the hips and thighs. Lifting the hips activates and stretches muscles in the spine and pelvis, improving mobility.
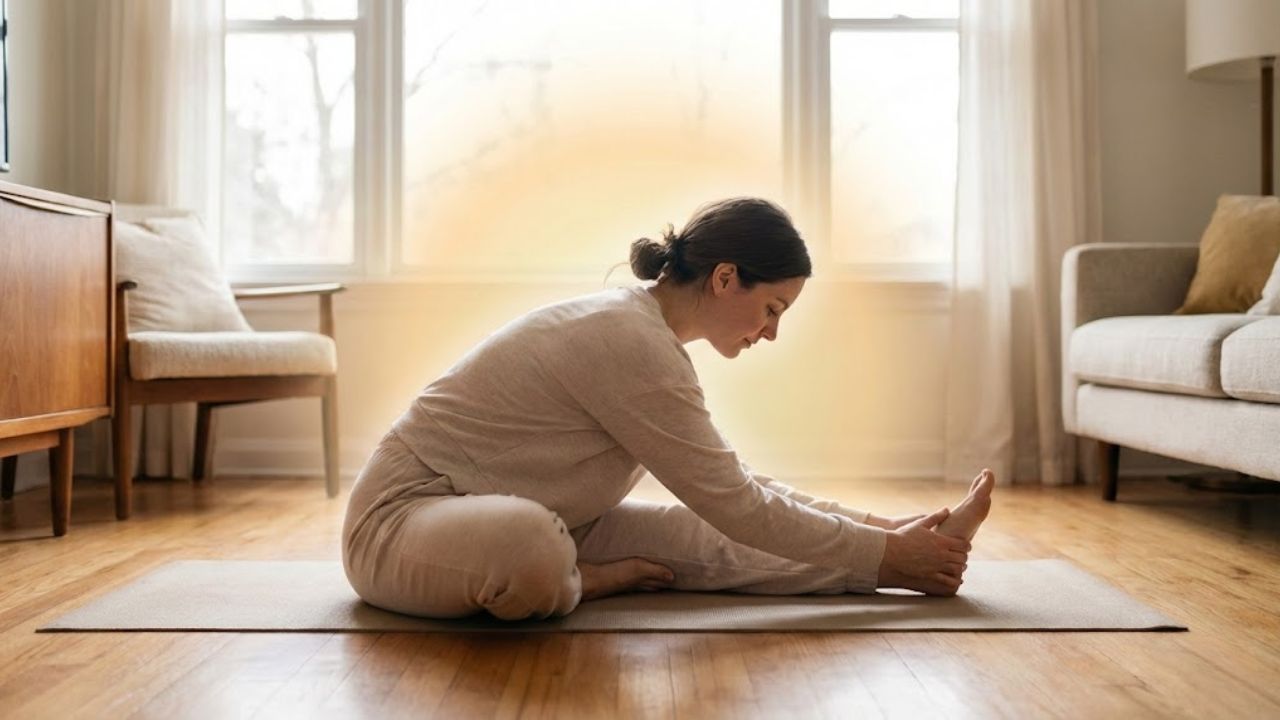
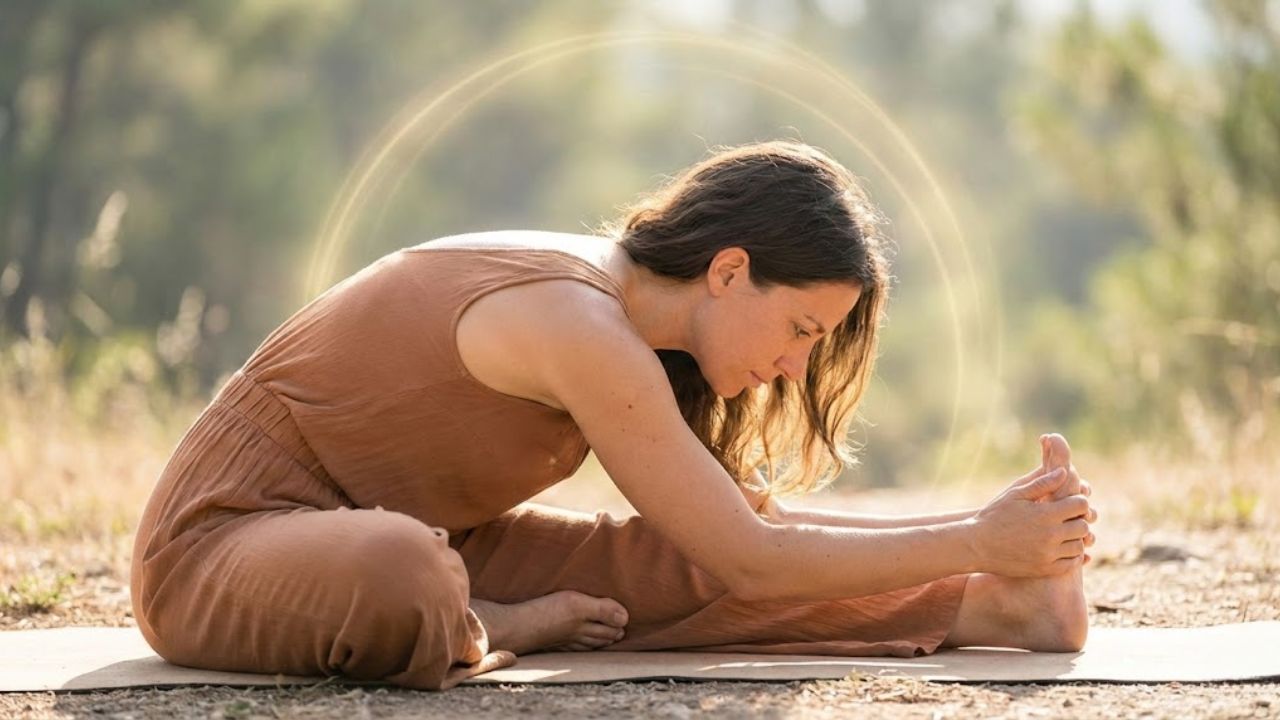
Seated Forward Fold (Paschimottanasana)
This seated stretch lengthens the spine and stretches the hamstrings. It’s excellent for releasing tension in the back and legs while increasing flexibility over time.
Cat-Cow Pose (Marjaryasana-Bitilasana)
This gentle flow between arching and rounding the spine improves spinal flexibility and warms up the back. It also enhances shoulder and spinal mobility.
Breathing Techniques to Support Flexibility
Breathing is a core part of yoga. Deep, mindful breathing relaxes the body, helping muscles to stretch more effectively. The deeper and longer you breathe into a pose, the more the body relaxes and allows for improved flexibility.
Pranayama, or controlled breathing, enhances body awareness and focus. It helps engage muscles during stretches and supports deeper range-of-motion development.
How Often Should You Practice Yoga for Flexibility?
To see visible improvements, it’s best to practice yoga consistently. Even 2–3 sessions a week can make a significant difference. Regular practice improves flexibility and movement ease. With time, you’ll experience more comfort in daily activities and a greater sense of mobility.
Yoga for Flexibility: A Holistic Approach
Yoga is more than stretching—it’s a holistic practice that supports physical, mental, and emotional well-being. As your physical flexibility increases, your mental flexibility and emotional resilience may also improve.
Yoga teaches you to respect your body’s limits, helping you avoid overextension. While flexibility doesn’t come overnight, with patience and commitment, yoga can help you reach your goals and move with greater freedom.