The moment you see more hair than usual on your pillow or in the shower drain triggers something in your mind. You find yourself running your fingers through your hair and wondering when it started to thin out. This creates an internal worry that you can keep hidden from others but you cannot ignore it yourself. You might convince yourself that stress is the cause or blame it on seasonal changes. Maybe you switched to a different shampoo or wore your hair in a tight style. These reasons seem easier to accept than facing the possibility of a real problem.
Understanding the Subtle Messages Your Hair Shares
Your hair shows what happens in your daily life and how balanced you feel inside. When you stay up late or skip meals or rush through showers or pull your hair too tight or use harsh products or deal with constant stress, your hair remembers all of it. Hormones shift and seasons change and you get older & these things affect your hair too. Your body usually tries to tell you something is wrong long before you notice hair falling out. It asks for rest & better food and gentler treatment. But when life gets busy these warnings are easy to miss. Coloring your hair often and using hot tools and washing it too much can push it past what it can handle. When you see more hair falling out you want a fast fix. But there is a better way that takes more time. Home remedies work with your body instead of trying to force it to change.
Oil Rituals That Nourish Hair from Root to Tip
Hair oiling is a traditional practice focused on nourishment and wellness. Warming oil between your palms and working it into your scalp does more than make hair softer. It helps you relax and improves blood flow to the scalp. Coconut oil prevents protein loss and protects hair that tends to be dry. Castor oil works well for keeping the scalp moisturized when used in small amounts. Almond oil sesame oil and olive oil each bring their own benefits for conditioning hair. Different oils work better for different people and mixing oils often gives the best results. Regular oiling paired with gentle scalp massage nourishes the scalp and makes hair roots stronger while bringing a sense of peace to hectic routines.
Scalp Massage: A Simple Yet Powerful Practice
Massaging your scalp matters just as much as the oil you use. When you move your fingertips slowly in circles you boost blood flow & help nutrients get to your hair follicles. Start at your hairline & work your way back to wake up the skin under your hair. Spending just five to ten minutes a few times each week can make a real difference. Apart from the physical benefits scalp massage also reduces stress and releases tension that might be causing your hair to fall out over time.
Herbal Oils and Homemade Infusions
You can make your own herbal hair oils at home for a more thoughtful hair care routine. Common ingredients include rosemary curry leaves, hibiscus & fenugreek. The process involves gently heating these herbs in oil and letting them soak to release their beneficial compounds. Rosemary helps boost blood flow to the scalp while hibiscus and fenugreek work to condition hair and make it stronger. Taking time to prepare your own oil creates a custom blend that feels both calming and deeply nutritious for your hair.
Everyday Kitchen Remedies with Lasting Benefits
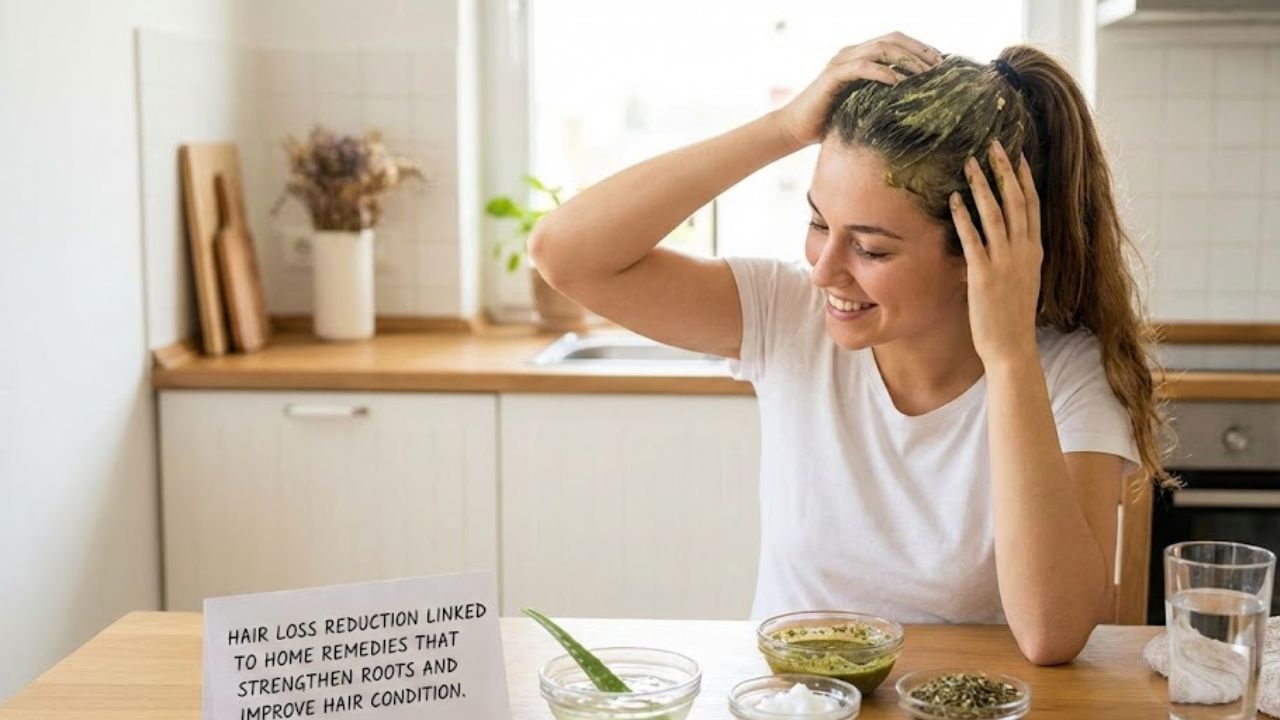
Natural Hair Care from Your Kitchen Your kitchen already contains many effective hair treatments. Common ingredients such as seeds, yogurt, eggs & aloe can help keep your scalp healthy and prevent hair breakage. While these natural remedies work gradually rather than overnight they promote regular care habits & thoughtful attention to your hair’s needs. Making these treatments yourself transforms hair care into a form of self-care. This hands-on approach demonstrates that healthy hair doesn’t require expensive store-bought products. The simple act of preparing natural treatments reminds us that real nourishment often comes from basic wholesome ingredients we already have at home.
nourishment does not always come from packaged products.
Natural Hair Care from Your Kitchen Your kitchen already contains many effective hair treatments. Common ingredients such as seeds, yogurt eggs and aloe can help keep your scalp healthy and prevent hair breakage. While these natural remedies take time to show results, they promote regular care habits and thoughtful attention to your hair’s needs. Making these treatments yourself transforms hair care into a form of self-care. This hands-on approach demonstrates that healthy hair doesn’t require expensive store-bought products. The simple act of preparing natural treatments reminds us that good nourishment often comes from basic ingredients we already have at home.
Fenugreek: Tiny Seeds with Reliable Support
Fenugreek seeds work well when you soak them overnight and blend them into a smooth paste for your scalp. These seeds contain proteins & helpful compounds that many people use to reduce hair loss and make their hair feel better. You can apply this paste once or twice each week for short periods to help your hair become thicker & stronger. Remember to use it in moderation & pay attention to how your scalp reacts since everyone’s skin is different.
Aloe Vera: Soothing Balance for the Scalp
Aloe vera offers cooling relief for irritated or oily scalps. The gel works to reduce inflammation and balance oil production while clearing away buildup that can clog hair follicles. When you apply it directly to your scalp and leave it on for twenty to thirty minutes aloe creates better conditions for healthy hair growth. You can also mix it with oils or yogurt to boost its nourishing effects.
Protein Masks Made from Simple Foods
Hair that gets exposed to heat or sunlight often needs extra protein support. Masks made with egg & plain yogurt can temporarily strengthen the hair shaft. This helps improve smoothness and reduces breakage. You should apply these masks to damp hair and rinse them out with cool water. It works best when you use them occasionally because this gives your hair strength without overdoing it.
Food, Stress, and the Deeper Roots of Hair Health
Hair health reflects your general physical state. When you lack important nutrients or deal with constant stress and hormone shifts or don’t sleep enough, your hair often shows these problems first through extra shedding or becoming thinner. Taking care of your scalp from the outside helps but what happens inside your body matters just as much. Eating enough protein along with iron and zinc and good fats gives your hair what it needs to grow strong. Drinking plenty of water and paying attention to what you eat keeps your hair healthy over time.
The Hidden Role of Stress in Hair Fall
Stressful periods or illness can trigger delayed hair shedding, where hair enters a resting phase before falling out months later. Managing stress through gentle movement, breathing practices, rest, and reduced screen time supports natural recovery. As stress hormones settle, hair growth cycles can gradually regain balance.
Daily Habits That Preserve Hair Strength
Daily habits determine how healthy your hair stays. Pick gentle shampoos and wash your hair only when needed. When you do wash it concentrate the shampoo on your scalp to keep natural oils intact. Apply conditioner from mid-length to the ends to minimize friction & prevent breakage. Try to use heat styling tools sparingly. Wear your hair in relaxed styles instead of tight ones. Switch to a silk or satin pillowcase at night to reduce damage while you sleep. These simple adjustments protect your hair from unnecessary stress and keep it stronger over time.
Gentle Detangling as a Form of Care
The way you handle your hair makes a real difference. Start by slowly detangling from the ends & work your way up using a wide-toothed comb to prevent unnecessary shedding. Apply a small amount of oil or leave-in conditioner to reduce friction. This careful approach transforms regular grooming into a mindful practice where you can spot early signs of dryness or weakness and take care of them right away.
Building a Sustainable Weekly Hair Routine
Hair care does not need to be complicated. A simple routine works well when you massage oil into your scalp a few times each week and use a nourishing mask regularly. Handle your hair gently every day and eat balanced meals while finding ways to manage stress. This approach is both realistic and effective. You will likely notice improvements gradually over several months. Your hair may shed less & feel better to the touch. You might also see new growth appearing. These changes show that your hair is becoming healthier & your body is getting the support it needs.
Strengthening the Connection with Your Body
Home remedies work slowly rather than providing instant results. They require you to be patient and pay attention to how your hair responds over time. What helps one person might not work for someone else, so you need to stay observant and make changes as needed. When you use natural ingredients & gentle routines to care for your hair you start to understand your body better. Eventually these habits do more than just improve your hair. They help you develop a healthier and more compassionate view of yourself from your scalp down to the ends of your hair. Often the journey starts with basic and uncomplicated actions.