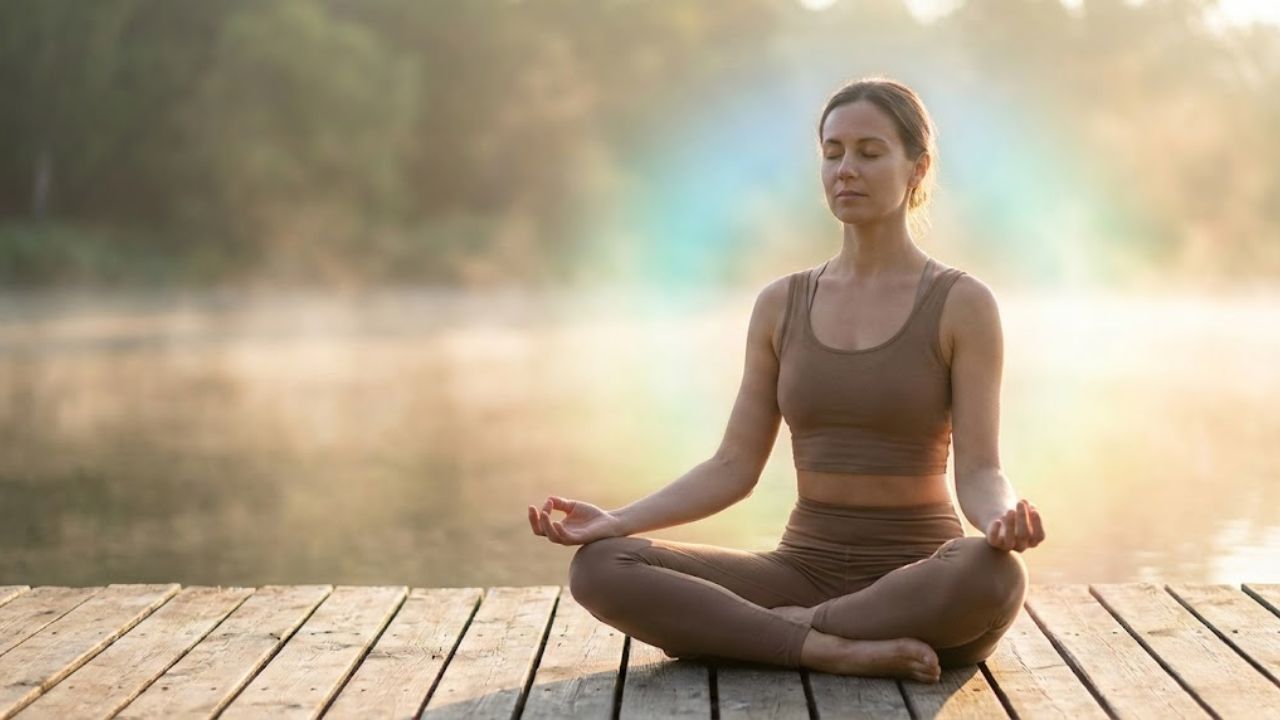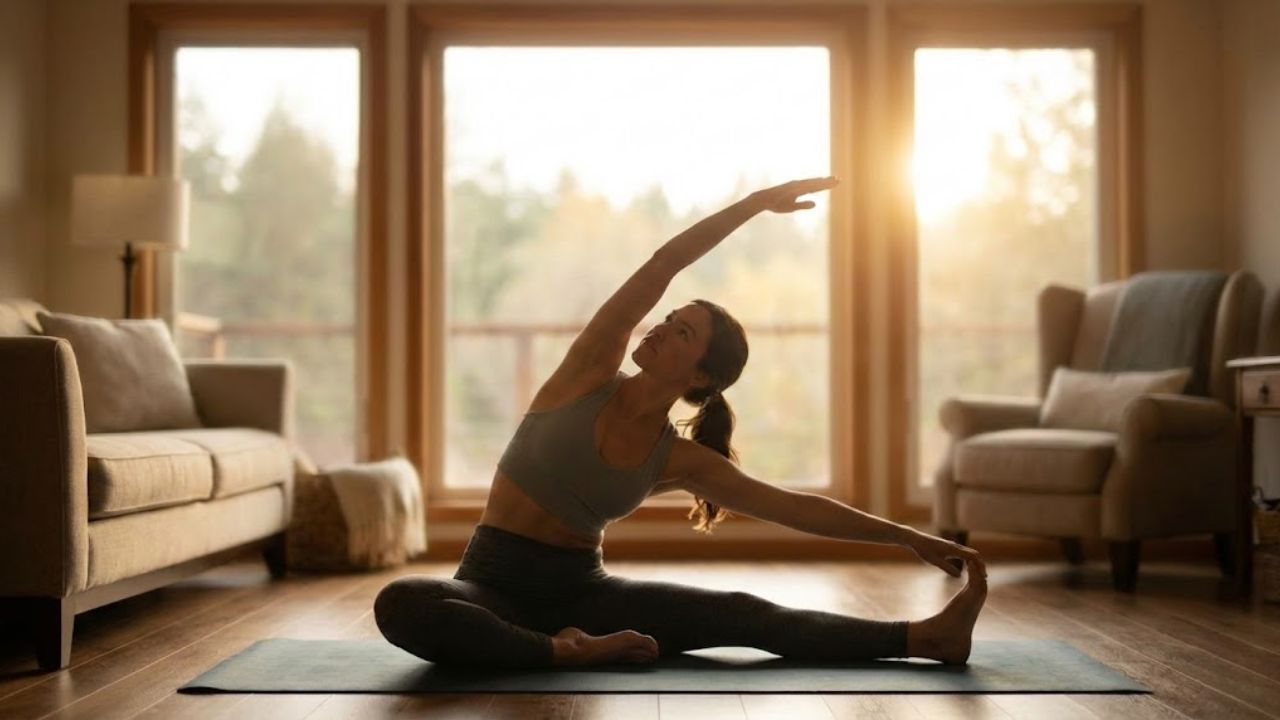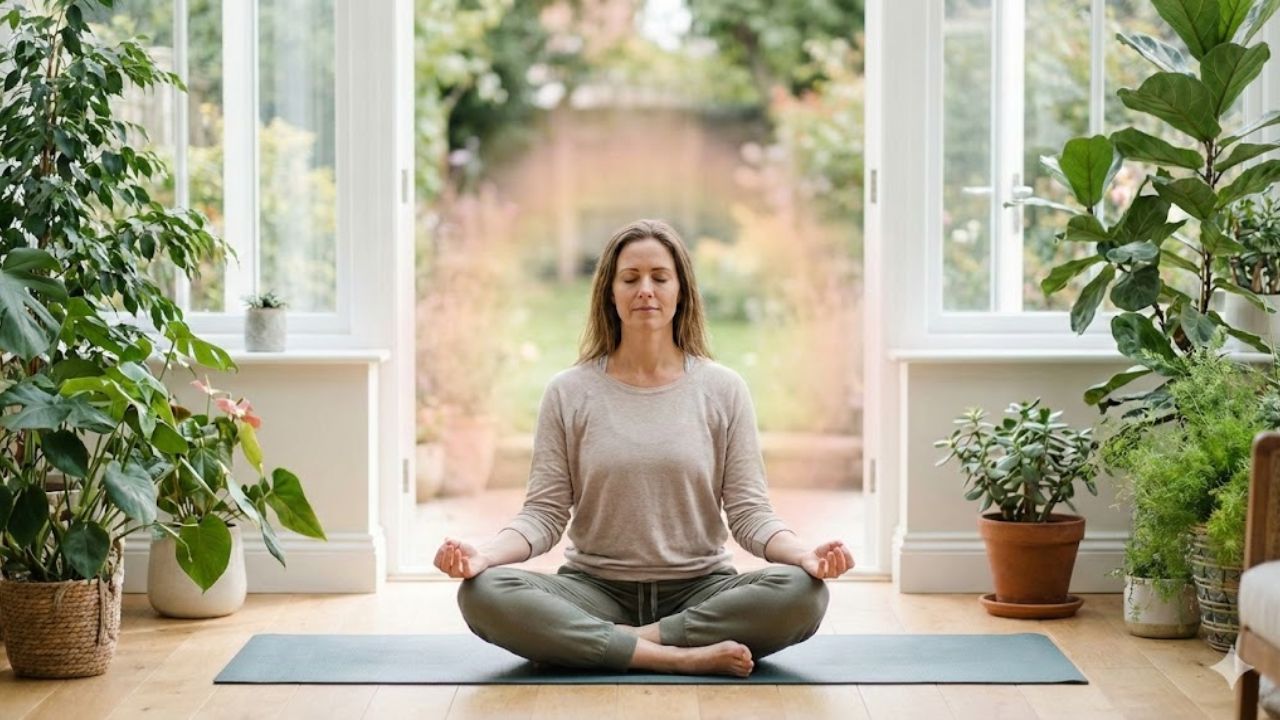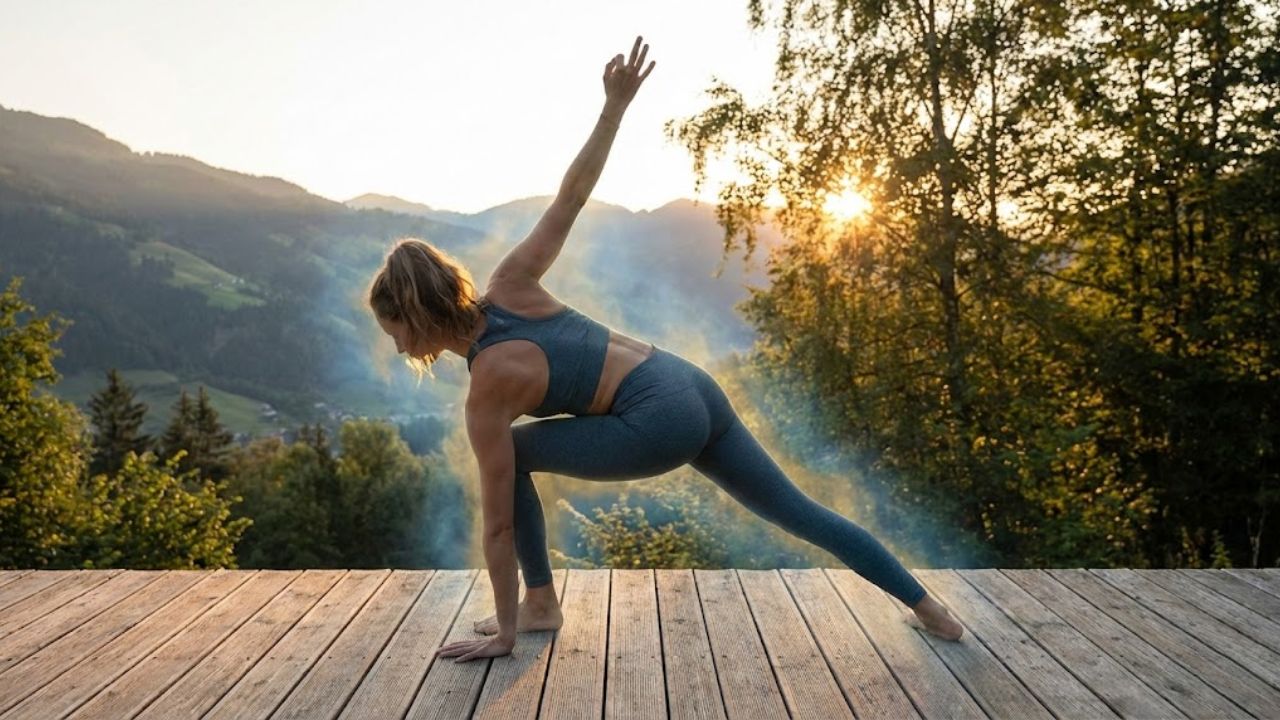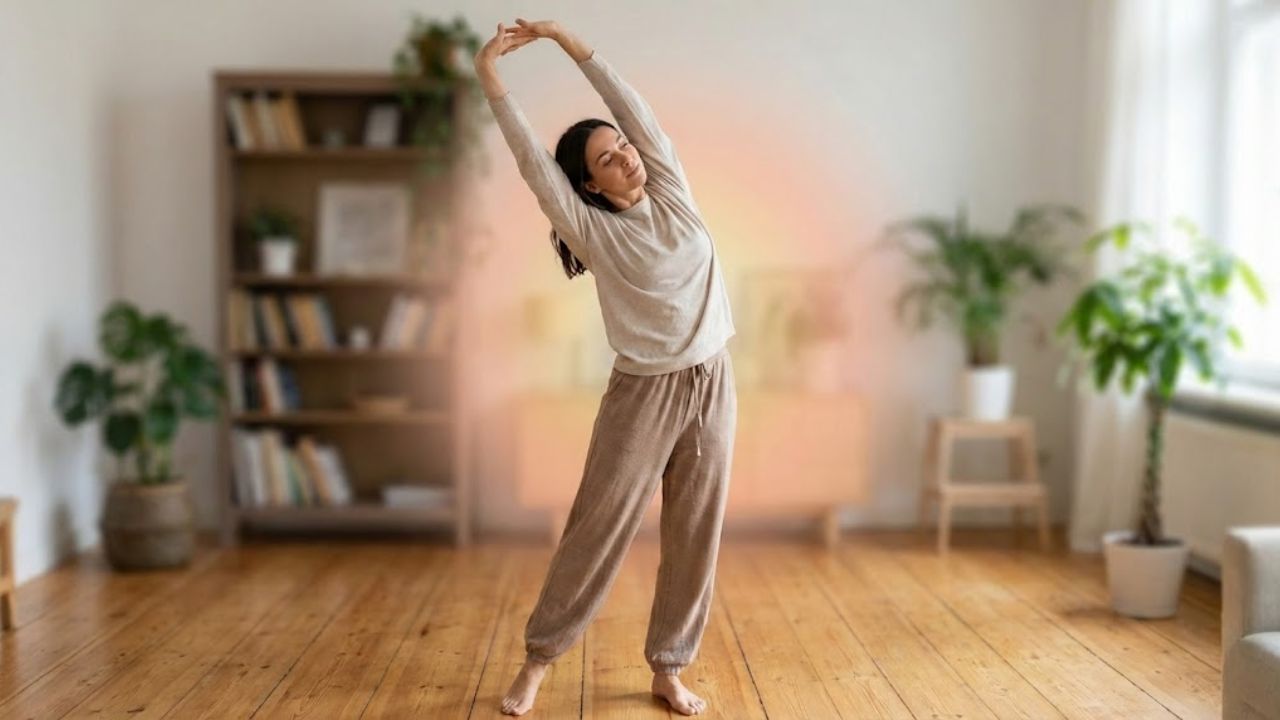
Modern life has created widespread posture problems because people spend many hours sitting at computers and looking down at phones while dealing with daily stress. Bad posture causes back pain & muscle problems along with various other health concerns. Yoga provides a natural solution to fix posture and improve how your body aligns. Regular practice of certain yoga poses strengthens your core and increases flexibility while creating lasting improvements in how you stand and sit. Here are five effective yoga poses that help you maintain proper alignment & stand taller.
Why is Posture Important?
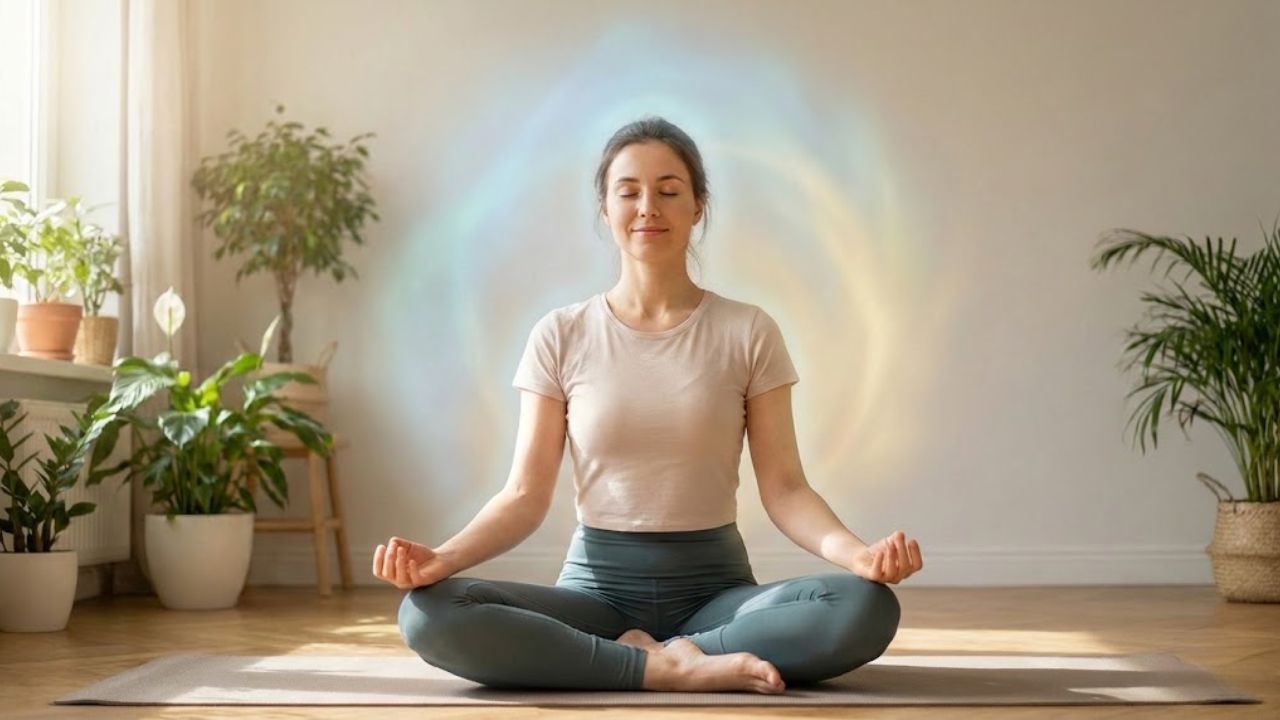
The Importance of Good Posture Posture affects your overall health and well-being in significant ways. When you maintain good posture your body works more efficiently and you avoid unnecessary strain on your muscles & ligaments. Your spine gets the support it needs & your risk of injury decreases substantially. Good posture keeps your joints properly aligned. This alignment means your muscles can work the way they were designed to work. When your body is positioned correctly you use less energy to move and function throughout the day. Your circulation improves when you sit and stand with proper posture. Blood flows more easily through your body when you are not compressed or twisted in awkward positions. This better blood flow delivers oxygen and nutrients to your tissues more effectively. Fatigue becomes less of a problem when you maintain good posture. Your muscles do not have to work as hard to keep you upright and balanced. This efficiency means you have more energy left for other activities. Poor posture forces some muscles to work overtime while others become weak from underuse. The benefits of good posture extend beyond just physical comfort. When your body is aligned correctly you can breathe more deeply because your lungs have room to expand fully. Your digestive system also functions better when you are not hunched over and compressing your internal organs. Taking care of your posture now helps prevent problems later in life. The habits you build today will affect how your body ages & how well you can move as you get older.
Mountain Pose (Tadasana)
Mountain Pose is the foundation of all standing poses in yoga. It may seem simple, but it is incredibly powerful for improving posture. In this pose, you learn to align your entire body from head to toe, developing awareness of your posture while standing.
How to Practice:
– Stand tall with your feet hip-width apart and your arms by your sides.
– Engage your thighs, lift your kneecaps, and feel the connection through the soles of your feet to the ground.
– Lift your chest, keeping your shoulders relaxed.
– Reach the crown of your head towards the sky, and align your head, neck, and spine.
Benefits:
Mountain Pose strengthens your legs and core, encourages proper alignment of the spine, and improves overall body awareness.
Cat-Cow Pose (Marjaryasana-Bitilasana)
Cat-Cow Pose is a dynamic movement between two positions that stretches and strengthens the spine. It’s excellent for improving spinal flexibility and posture by promoting a natural curvature of the back.
How to Practice:
– Start on your hands and knees in a tabletop position, with your wrists directly beneath your shoulders and your knees beneath your hips.
– On an inhale, arch your back and lift your chest towards the ceiling (Cow Pose).
– On an exhale, round your spine, tucking your chin towards your chest (Cat Pose).
– Repeat for several rounds, moving slowly and consciously.
Benefits:
Cat-Cow Pose improves spinal flexibility, promotes fluidity in the spine, and encourages alignment of the neck and back.
Cobra Pose (Bhujangasana)
Cobra Pose is a backbend that opens up the chest and stretches the spine. It helps strengthen the muscles of the lower back and improves spinal alignment.
How to Practice:
– Lie on your stomach with your legs extended behind you and your palms placed flat on the floor beneath your shoulders.
– Press into your palms and lift your chest off the floor, extending your spine upwards.
– Keep your elbows close to your body and your shoulders away from your ears.
– Hold the pose for several breaths before lowering back down.
Benefits:
Cobra Pose strengthens the lower back, stretches the chest and abdomen, and helps to alleviate lower back pain caused by poor posture.
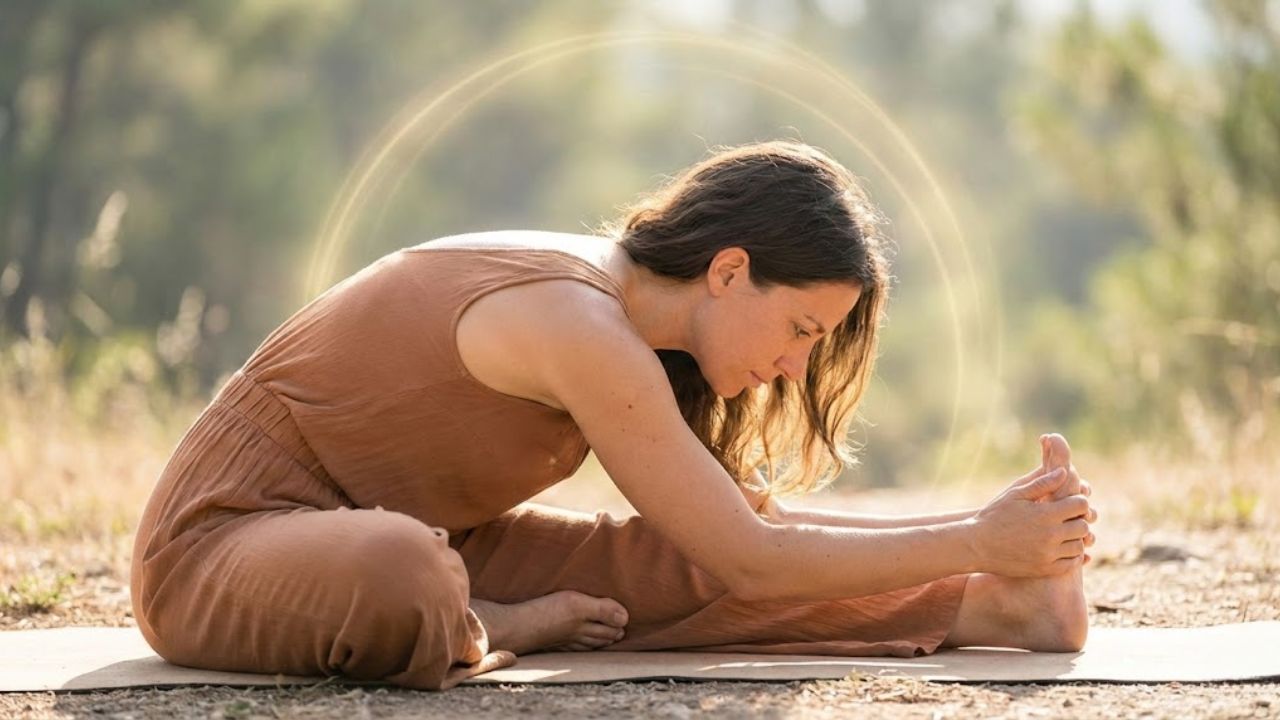
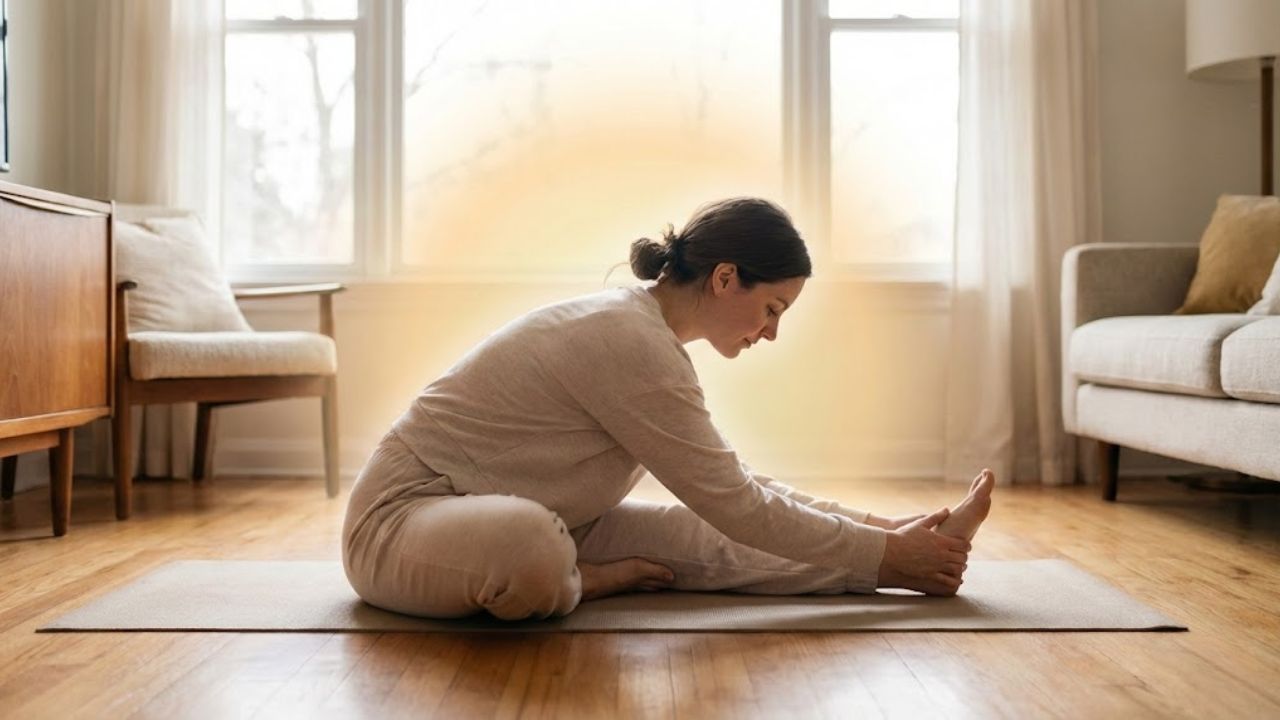
Child’s Pose (Balasana)
Child’s Pose is a resting pose that stretches the back and promotes relaxation. It helps release tension in the spine, hips, and shoulders, providing an excellent counter-pose to prolonged sitting or standing.
How to Practice:
– Start in a kneeling position with your knees wide apart and your big toes touching.
– Lower your torso towards the ground, extending your arms forward or placing them by your sides.
– Relax your forehead on the mat and breathe deeply into your back.
Benefits:
Child’s Pose helps release tension in the back, promotes relaxation, and provides a gentle stretch for the spine, helping to reset the body after strenuous activity.
Bridge Pose (Setu Bandhasana)
Bridge Pose is a great way to strengthen the lower back and hips while opening the chest. This pose improves spinal alignment and encourages proper posture by strengthening the muscles that support the spine.
How to Practice:
– Lie on your back with your knees bent and your feet flat on the floor, hip-width apart.
– Press your feet into the floor and lift your hips towards the ceiling.
– Keep your arms by your sides, with your palms facing down.
– Engage your thighs and core, and hold the pose for several breaths before lowering back down.
Benefits:
Bridge Pose strengthens the glutes, lower back, and legs, helping to support the spine and improve overall posture.